Introduction
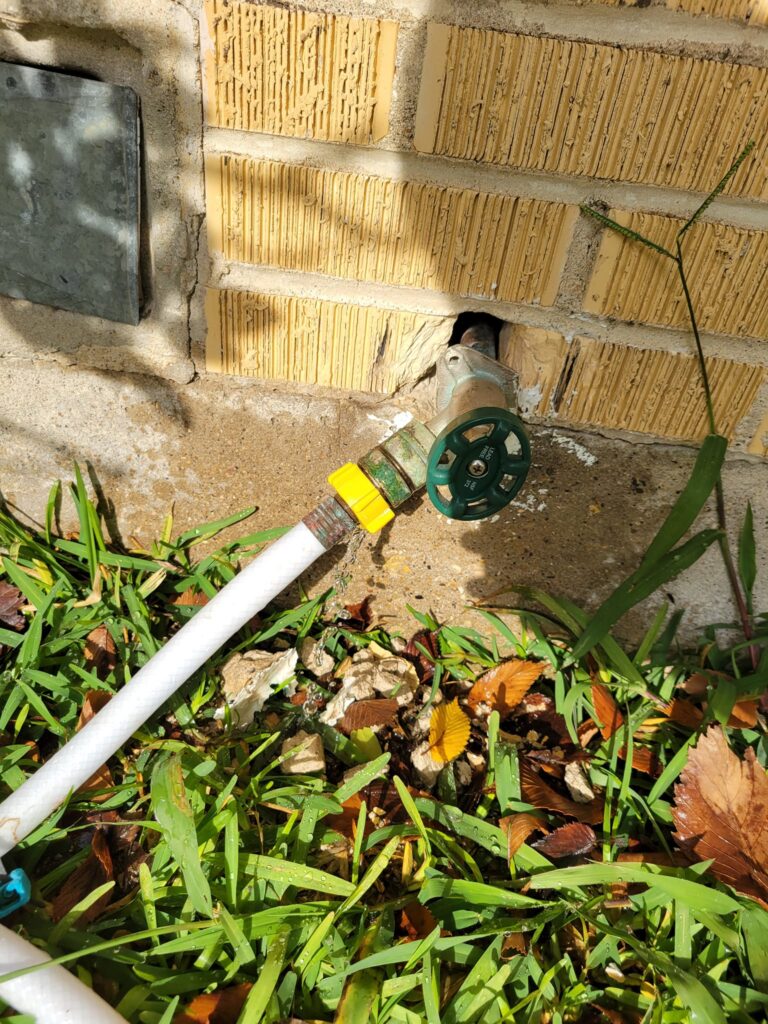
As winter approaches, it’s crucial to address potential vulnerabilities around your home to avoid costly damages. One often overlooked area prone to leaks is the outdoor spigot. A leaking spigot may seem like a minor inconvenience, but it can lead to significant problems, especially during freezing temperatures. In this article, we’ll explore common reasons for outdoor spigot leaks and highlight the importance of addressing these issues before winter sets in.
Common Causes of Outdoor Spigot Leaks
- Worn-out or Damaged Washer
A primary reason for a leaking outdoor spigot is a worn-out or damaged washer within the spigot’s handle. Over time, the constant use of the spigot can cause wear and tear on the washer, leading to leaks. Regular inspection and timely replacement of the washer can prevent water wastage and potential damage.
- Loose or Deteriorated Packing Nut
Another common culprit for spigot leaks is a loose or deteriorated packing nut. The packing nut is responsible for creating a watertight seal in the spigot. If it becomes loose or deteriorates, water can escape, resulting in a leak. Periodic checks and tightening or replacement of the packing nut can help maintain a secure seal.
- Freezing Temperatures
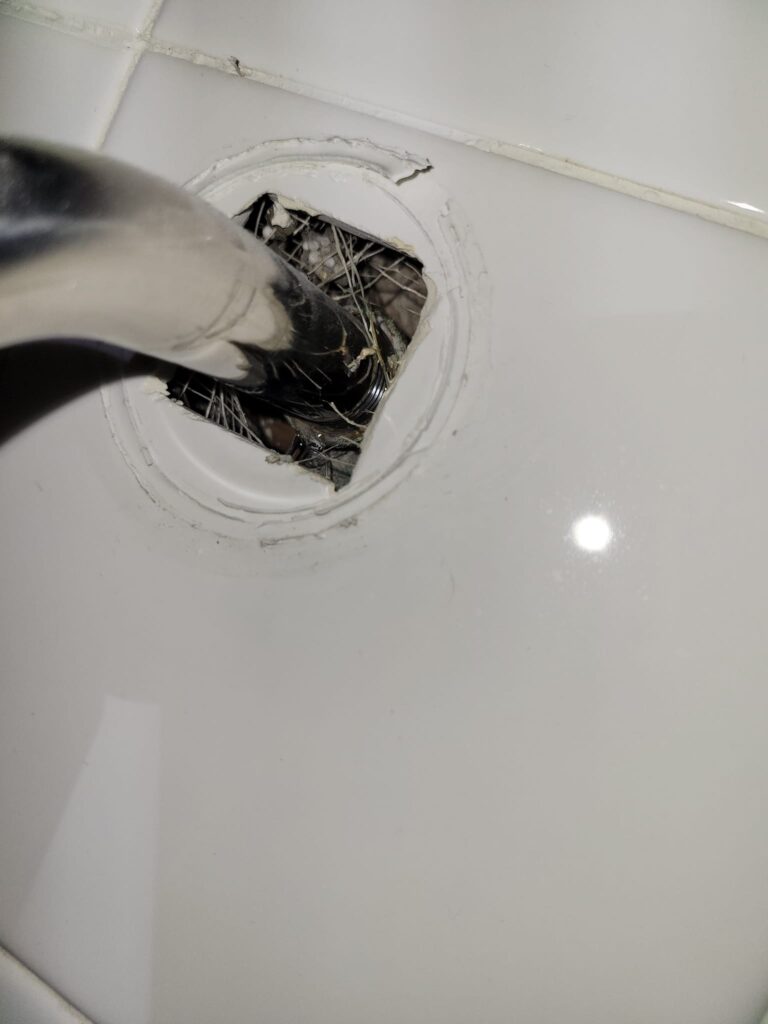
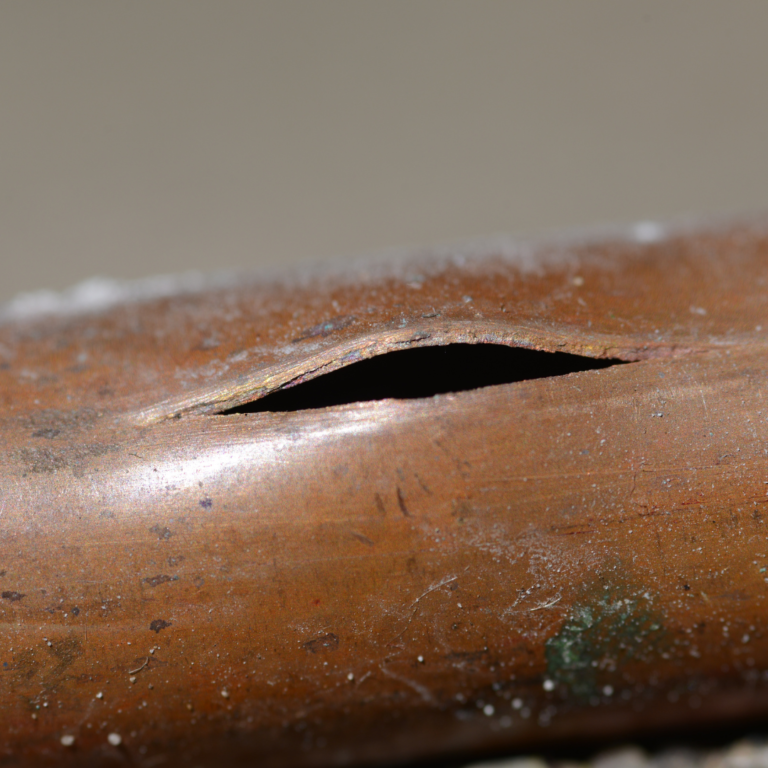
Perhaps the most significant threat to outdoor spigots is freezing temperatures. When water inside the spigot freezes, it expands, putting immense pressure on the pipe and causing cracks or splits. This can lead to severe leaks when the ice thaws. To prevent this, it’s essential to winterize your outdoor spigots before freezing temperatures arrive.
Preventing Outdoor Spigot Leaks
As the temperature drops, it’s crucial to take proactive measures to safeguard your home from potential spigot-related issues. Here are some steps you can take:
- Inspect and Replace Worn-out Washers
Regularly inspect the washers in your outdoor spigot handles. If you notice any signs of wear or damage, replace them promptly to prevent leaks.
- Check and Tighten Packing Nuts
Ensure that the packing nuts in your spigot are secure and in good condition. Tighten or replace them as needed to maintain a watertight seal.
- Winterize Your Outdoor Spigots
Before freezing temperatures set in, take the time to winterize your outdoor spigots. Disconnect hoses, drain any residual water from the spigot, and consider using insulated covers to provide an extra layer of protection.
Don’t Wait – Act Now!
Waiting until freezing temperatures have arrived can lead to costly consequences. Addressing outdoor spigot issues now can save you from the hassle and expense of dealing with a flooded home later. Our professional services start at $150, covering the cost of materials and expert assistance to fix a broken spigot. Don’t let a minor issue turn into a major problem; act now and ensure your home is winter-ready.
Conclusion
Taking the time to inspect and maintain your outdoor spigots before winter arrives is a smart investment in preventing potential leaks and water damage. By addressing worn-out washers, loose packing nuts, and preparing for freezing temperatures, you can protect your home and avoid costly repairs. Don’t wait until it’s too late – act now to safeguard your home from outdoor spigot leaks this winter.